Highlighting Code Snippets for MDX with React and Shiki

Introduction
While building my blog with Next.js and MDX, I made it a priority to ensure the code snippets were visually appealing and interactive. To achieve this, I integrated rehype-pretty-code for syntax highlighting, powered by Shiki, and added a custom "Copy to Clipboard" feature to make the snippets functional and user-friendly. Here’s how I did it.
Integrating rehype-pretty-code with MDX
Setting Up rehype-pretty-code
To get started, I installed the necessary dependencies:
npm install rehype-pretty-code shikiThen, I configured my mdxOptions in the next.config.mjs file to include the plugin. Here’s a sample of how I set up the options object to define light and dark themes:
import createMDX from '@next/mdx'
import rehypePrettyCode from "rehype-pretty-code";

/** @type {import('next').NextConfig} */
const nextConfig = {
  pageExtensions: ['js', 'jsx', 'md', 'mdx', 'ts', 'tsx'], // Include markdown and MDX files
}

/** @type {import('rehype-pretty-code').Options} */
const options = {
  keepBackground: false,
  theme: {
    light: "everforest-light",
    dark: "everforest-dark"
  }
};

const withMDX = createMDX({
  options: {
    remarkPlugins: [],
    rehypePlugins: [[rehypePrettyCode, options]],
  }
})

export default withMDX(nextConfig)
This configuration allows the syntax highlighting to dynamically switch between light (everforest-light) and dark (everforest-dark) themes based on the user’s preference.
To load the styles correctly, I added the following to the globals.css file:
/* Light theme styles */
code[data-theme*=" "], code[data-theme*=" "] span {
    color: var(--shiki-light) !important;
    background-color: var(--shiki-light-bg) !important;
}

/* Dark theme styles */
html.dark code[data-theme*=" "], html.dark code[data-theme*=" "] span {
    color: var(--shiki-dark) !important;
    background-color: var(--shiki-dark-bg) !important;
}
Example Code Snippets
Here’s how a sample code snippet looks when written in MDX:
```js
const greet = () => {
  console.log("Hello, World!");
};
greet();
And the rendered output on my blog:
const greet = () => {
  console.log("Hello, World!");
};
greet();
To display line numbers, I used showLineNumbers like this:
```js showLineNumbers
const greet = () => {
  console.log("Hello, World!");
};
greet();
Which renders as:
const greet = () => {
  console.log("Hello, World!");
};
greet();
Adding the "Copy to Clipboard" Feature
Overview of the Custom Component
While syntax highlighting was an essential enhancement, I wanted to go further. Adding a "Copy to Clipboard" button for each code block makes the blog more interactive and user-friendly.
Here’s what the custom React component does:
1.Converts React elements (like code blocks) into plain text while ignoring all HTML tags.
2.Strips out special HTML entities to ensure copied text is clean and usable.
3.Provides real-time feedback by changing the button icon to a tick for 3 seconds after copying.
Snippet from the React Component
This snippet contains the logic for decoding and stripping out HTML elements:
// Function to decode HTML entities
const decodeHtmlEntities = (text: string): string => {
  const textarea = document.createElement('textarea');
  textarea.innerHTML = text;
  return textarea.value;
};

// Function to strip HTML elements and extract plain text
const stripHtmlElements = (reactElement: ReactNode): string => {
  const staticMarkup = ReactDOMServer.renderToStaticMarkup(reactElement);
  const textContent = staticMarkup.replace(/<\/?[^>]+(>|$)/g, '');
  return decodeHtmlEntities(textContent.trim());
};
Integrating the Component with MDX
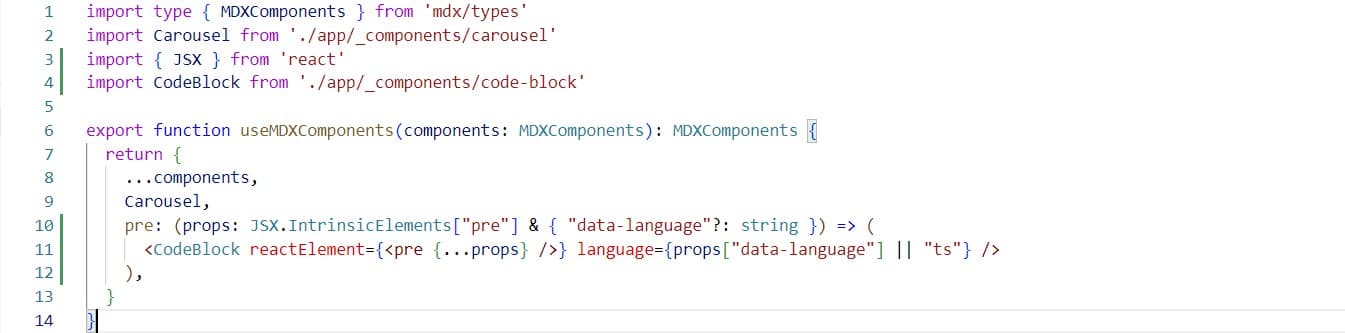
To integrate the component with MDX, I replaced the default <pre> tag with my custom component in the mdx-components.tsx file:
export function useMDXComponents(components: MDXComponents): MDXComponents {
  return {
    ...components,
    pre: (props: JSX.IntrinsicElements["pre"] & { "data-language"?: string }) => (
      <CodeBlock reactElement={<pre {...props} />} language={props["data-language"] || "ts"} />
    ),
  };
}
This ensures that every <pre> tag in an MDX file is rendered using the CodeBlock component, seamlessly integrating the "Copy to Clipboard" functionality with rehype-pretty-code’s output.
Voila, it is all done. I hope you enjoyed this and found it useful for similar enhancements in your projects.